 Tattoo Stencil
 Buy me a coffee
Stencil collection
Butterfly Tattoo Stencils
Compare eight butterfly tattoo stencils with spread wings, folded profiles, and flight poses. Check wing details on a paper proof.
8 designs
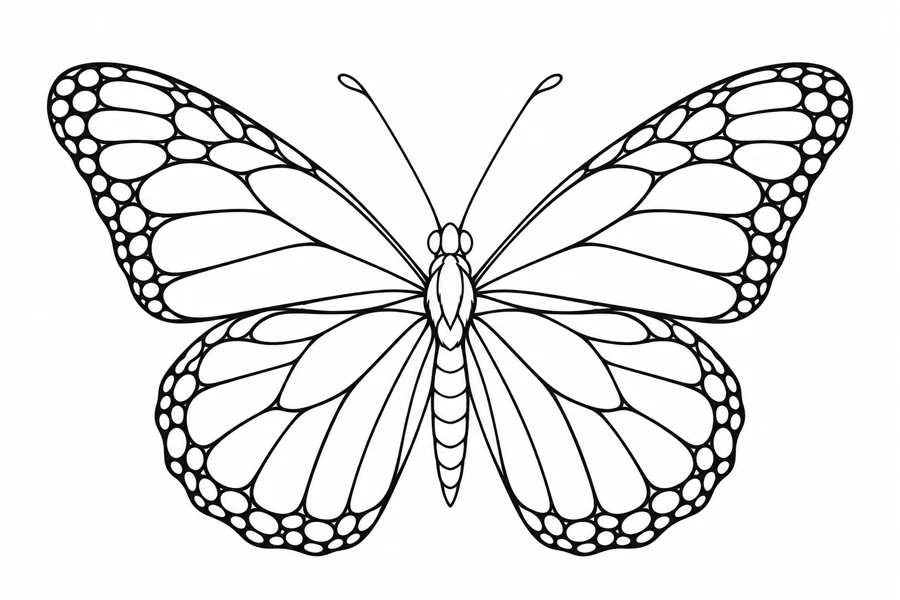
Butterfly
Monarch Butterfly
A spread-wing butterfly with monarch-inspired wing divisions.
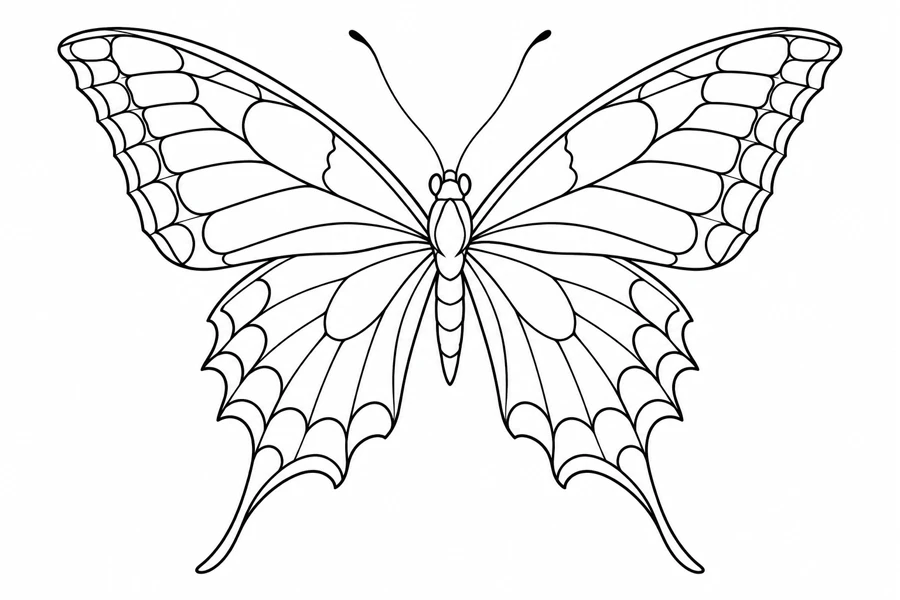
Butterfly
Swallowtail Butterfly
A front-facing swallowtail with tapered tails and separated wing markings.
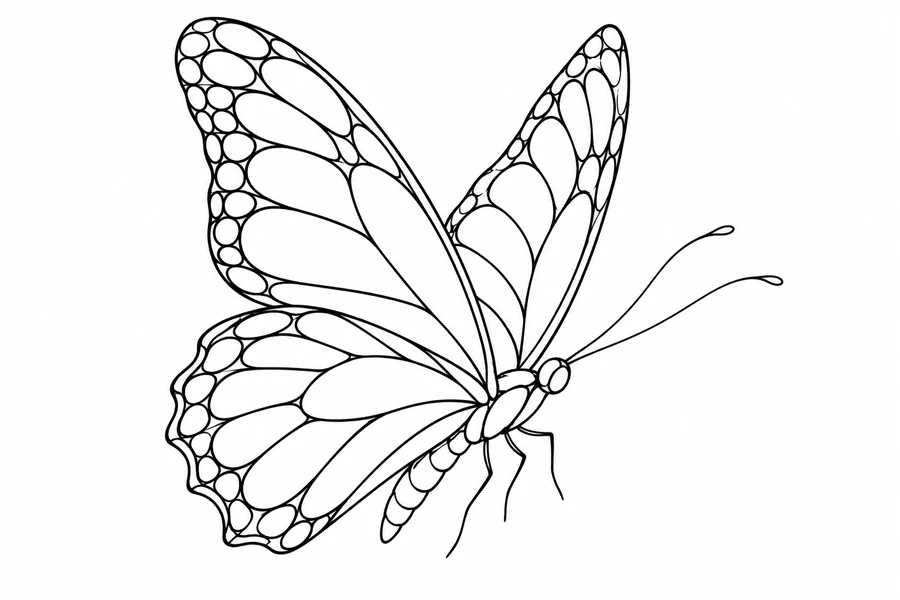
Butterfly
Butterfly in Profile
A three-quarter butterfly with raised wings and outlined wing spots.

Butterfly
Morpho Butterfly
A spread-wing morpho study with broad outer wings and open interior divisions.

Butterfly
Buckeye Butterfly
A symmetrical butterfly study with ring-shaped eyespots set inside rounded wings.
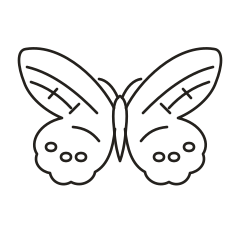
Butterfly
Painted Lady Butterfly
A front-facing butterfly with scalloped wing edges and separated interior markings.
Fine Line
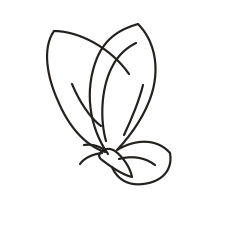
Folded-Wing Butterfly
A butterfly in a narrow side view with overlapping upright wings and sparse fine contours.
Butterfly
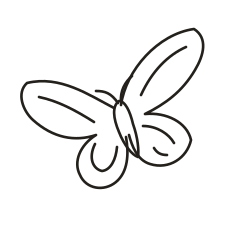
Butterfly in Flight
An asymmetric flight study with one wing lifted and the other extending outward.
Compare these butterfly tattoo stencils by wing shape
The monarch-inspired design spreads both wings around a central body. Compare it across a wider space and check that the body remains visible between the wing divisions. The swallowtail also faces forward, but the two narrow hindwing tails are part of its silhouette. If the tails lose their tips on a small proof, keep the outline and consider dropping a less important mark inside the wing.
The butterfly in profile has one wing raised behind the other. Its narrower silhouette can fit a paper mockup that leaves less room for spread wings. The overlap between the wings helps explain the angle, so check that the foreground wing still has a distinct edge when the design is reduced. A profile also has a clear direction. Turn the paper both ways to compare where the raised wing points.
Among the added spread-wing studies, the morpho makes the broad outline easiest to isolate, the buckeye gives you concentric eyespots to compare, and the painted lady adds a scalloped outside edge. Print the folded-wing and flight studies alongside the side profile if direction matters to the composition. The folded-wing outline is upright and compact. The flight study takes up more sideways space and gives the lifted wing a more pronounced angle.
What to check on a paper proof
Measure the wingspan for the front-facing designs and the overall height for the profile. Compare two nearby sizes at actual scale, for example 60 mm and 80 mm across for a spread-wing draft if both fit the planned area. On each proof, check one small wing marking and the gap beside the body. If they close up, simplify the markings or compare a larger size before changing the whole outline.
Print the PDF at 100% and compare the paper copy with the original image. Check whether your transfer equipment already reverses the design before enabling Mirror output, especially for the asymmetric profile. Bring both versions of the reference if you are still deciding on direction.
Shortlist designs against the space you measured
Choose two or three references from this collection and write down what interests you in each. A compact outline, a long curve, or an open group of marks gives you a more useful comparison than a list of favorites. Measure both the width and height of the area you want to compare. Draw that area on a sheet of plain paper, then place the outline of each reference over it at the same scale. Leave the design in proportion and include any accent that extends beyond the main subject. An element outside the outline can be the part that determines whether the design fits.
Pick the strongest comparison and make one alternate. Try a second print size if the full shape fits but a small gap becomes hard to read. If the overall area is fixed, compare a simplified version at the same size instead. Put a short label under each proof with its width, height, and direction. Change one thing between the versions so you can identify what made the difference. If the copies are for a consultation, bring the original image and the marked proofs together. Those notes let you discuss placement before redrawing the whole design.
Choose the line weight by testing the smallest useful gap
Decide which edges carry the shape before changing the strength of the lines. Look for a gap that has to survive for two forms to stay separate. A larger print gives that opening more room. A reduced version may call for a simpler interior or for moving a small accent away from an important edge. Compare those two options on paper if both are plausible. The preview can help you see what the tool extracted, and a proof shows what remains at the physical size you entered. Use the original reference to check whether a missing line was intentional.
Set up the print and compare the result
When you prepare your own draft, enter the intended width or height and check the other dimension in the preview. Export a sized PDF for a plain-paper comparison. Choose the same paper size in the workspace and printer dialog, then print the calibration sheet at Actual Size or one hundred percent. Measure the reference line with a ruler before comparing the design. If the proof is unexpectedly small, check the printer’s scaling setting first. Changing the image size in the editor would hide the cause and give you a different file to compare later.
For a draft wider or taller than one sheet, line up the repeated marks in the overlap before measuring the full design. Check a small detail that crosses the seam as well as the outside edge. For an asymmetric reference, mark a recognizable feature on the paper and compare it with the original. Confirm how your transfer equipment handles orientation before turning on mirroring. Keep the original reference, the labeled proof, and the final PDF together so you can recover the dimensions you chose when you return to the design.