 Tattoo Stencil
 Buy me a coffee
Image to stencil
Free Tattoo Stencil Maker
Turn a JPG, PNG, or WebP image into a tattoo stencil. Refine the linework and download a PNG or a sized PDF for printing.
Free online tool
Make a tattoo stencil
- Instant mode stays on your device
- Actual-size print layouts
- Free PNG & PDF · No signup
Your linework
Your next piece starts here.
Upload your reference to reveal the lines.
Refine, compare, and make it yours.
03 / THE FINAL DETAILS
Make it print-ready.
Print at 100% / Actual Size. Measure the calibration ruler first. Check your stencil with a qualified tattoo artist.
From upload to paper
How it works
Choose an image
Select a JPG, PNG, or WebP image. A sharp photo or a high-contrast scan gives the tool clearer edges to work with.
Refine the lines
Choose how to handle your image, compare the result with the original, and repair details with the pen or eraser.
Set the size and export
Enter the width or height, check the mirror setting, and download a PNG or an actual-size PDF.
Printing at actual size
Check the paper before the transfer
Match the PDF to your paper size, print the calibration sheet at 100%, and check its reference line with a ruler. Use a plain-paper copy to check the stencil size and direction before following your transfer equipment’s instructions.
Printing guideChoose an export for what you need to do
Use the stencil maker when you have a photo, sketch, or line drawing and want a linework draft you can check at a physical size. Start with the clearest copy you have. A scan usually needs less cleanup than a photo taken under uneven light. If a photo is your only reference, compare the stencil preview with the original before deciding which lines to keep.
PNG for sharing or editing
Choose PNG if you want to send the linework to your artist or bring it into another editor. Turn on the transparent background when you need to place the ink over a drawing or mockup. Keep the original reference alongside the PNG so the artist can see details like shading and overlapping shapes.
PDF for checking the size on paper
Measure the space you want to compare, enter a width or height, then check the other dimension in the preview. Match the PDF to your paper size and use Actual Size or 100% in the print dialog. A design that exceeds one sheet is split across pages with an overlap. The actual-size printing guide shows how to check the calibration page and align the sheets.
When to take the draft into a drawing app
The browser tool is useful for converting a reference, repairing a few lines, and trying different sizes. A drawing or vector editor is useful when you need to redraw a large section, move individual shapes, or build a layered design. For a tattoo consultation, bring the draft and the original so your artist can decide what to simplify at the planned size.
Check the draft before changing the settings
Decide what you want to keep before adjusting line strength. For a clean drawing, compare the outside shape and the junctions between lines. A gap in the original may be intentional. For a photo, find a few features that identify the subject, such as the edge of a face, the shape of a leaf, or the outline of a letter. Shadows and reflections can produce extra edges that compete with those features. Use the comparison slider to tell which marks came from the reference and which appear only in the conversion.
Work on one issue at a time. If a line is broken in one small area, zoom in and repair that segment with the pen. If the background produces marks across the whole image, compare the subject and whole-image results before spending time erasing. If several lines run together only when the design is reduced, compare a larger physical size or simplify those details. Changing the file format will preserve the lines you already have, so check the drawing itself before switching between PNG and PDF.
Save separate files for the versions you want to compare. A note such as “left facing, 75 mm wide” helps you identify the right draft when you open it again or share it with someone else. For lettering or any asymmetric design, check one recognizable detail on the plain-paper proof before preparing a transfer.
Design collection
Tattoo Stencils
Explore engraved geometry, blackwork placement, and fine-line detail before working with your own reference.
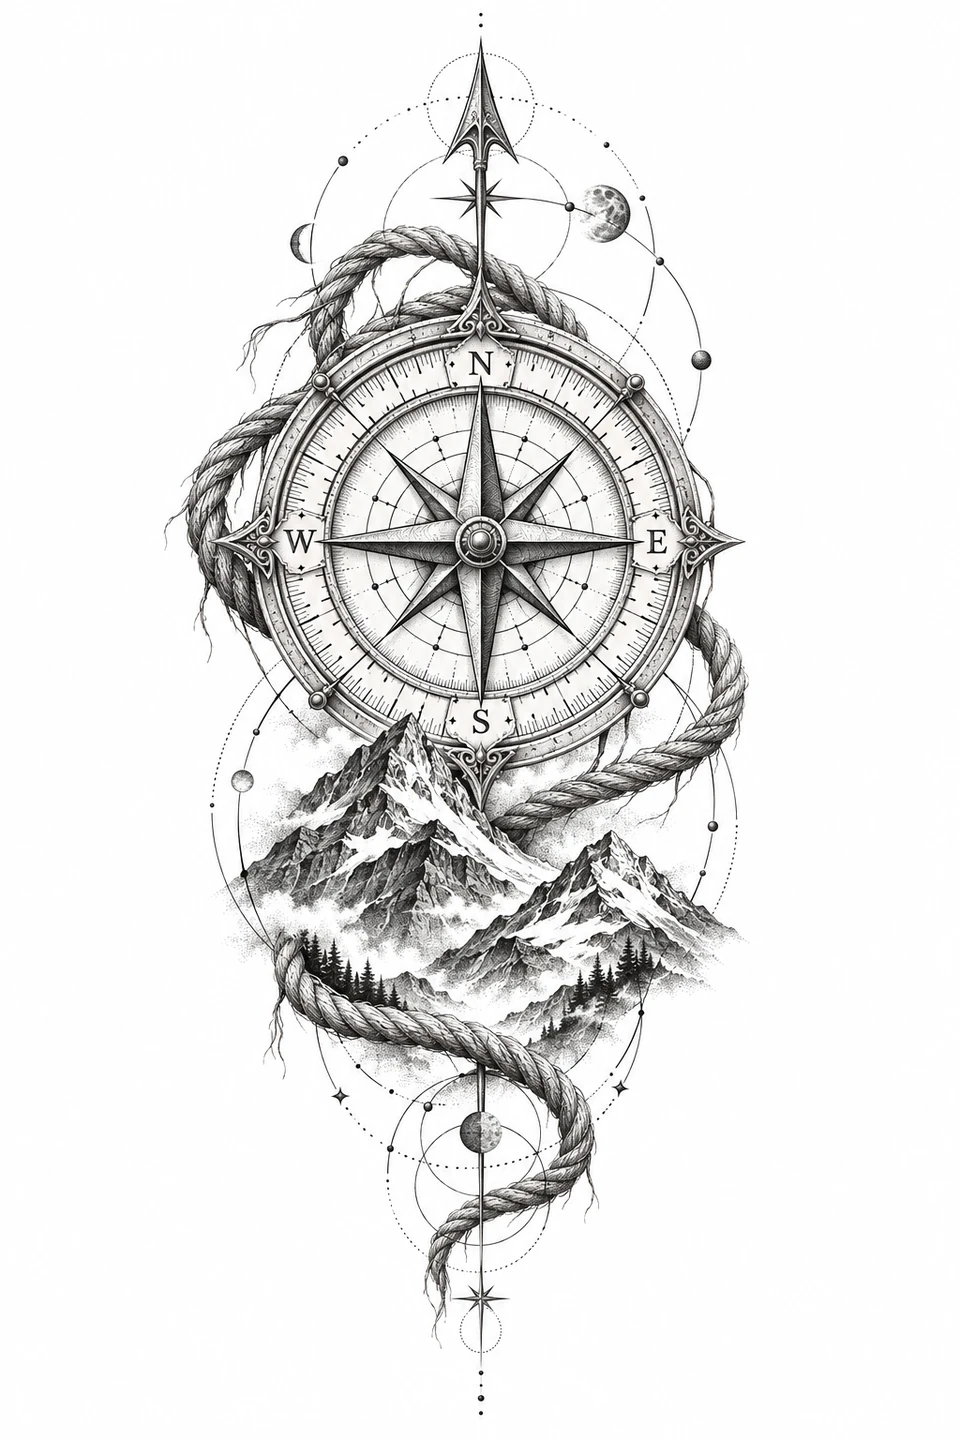
Geometric
Compass Tattoo
An engraved compass rose framed by alpine peaks, knotted rope, and celestial orbits.
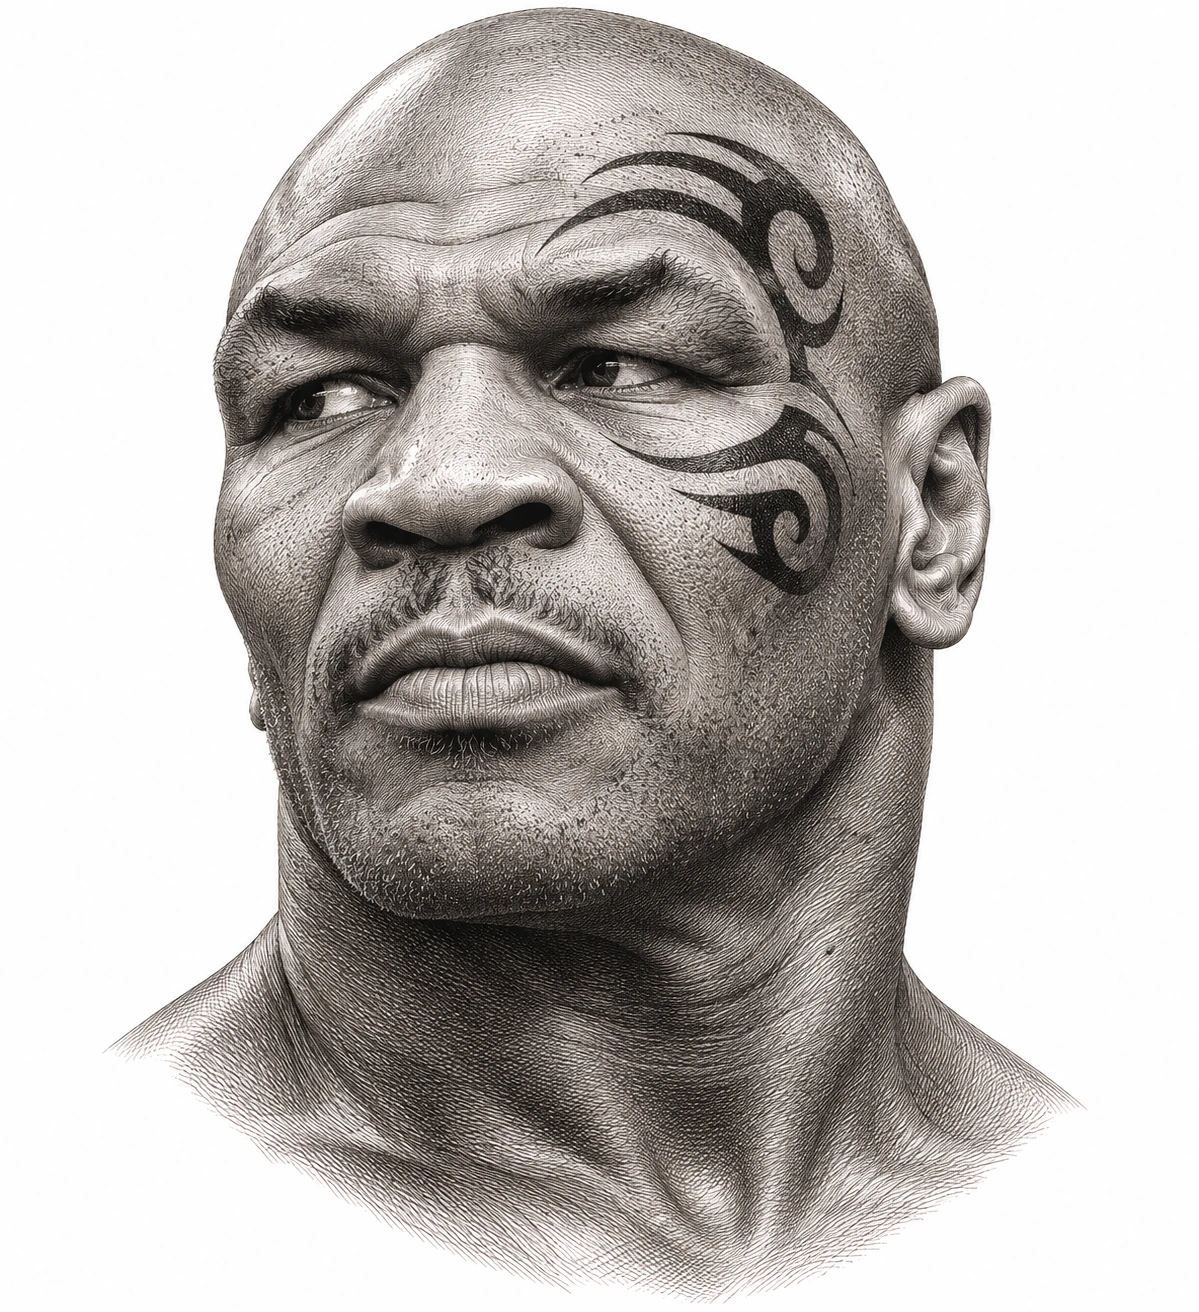
Tattoo History
Mike Tyson Tattoo
The curved black design Victor Whitmill tattooed around Mike Tyson’s left eye in 2003.
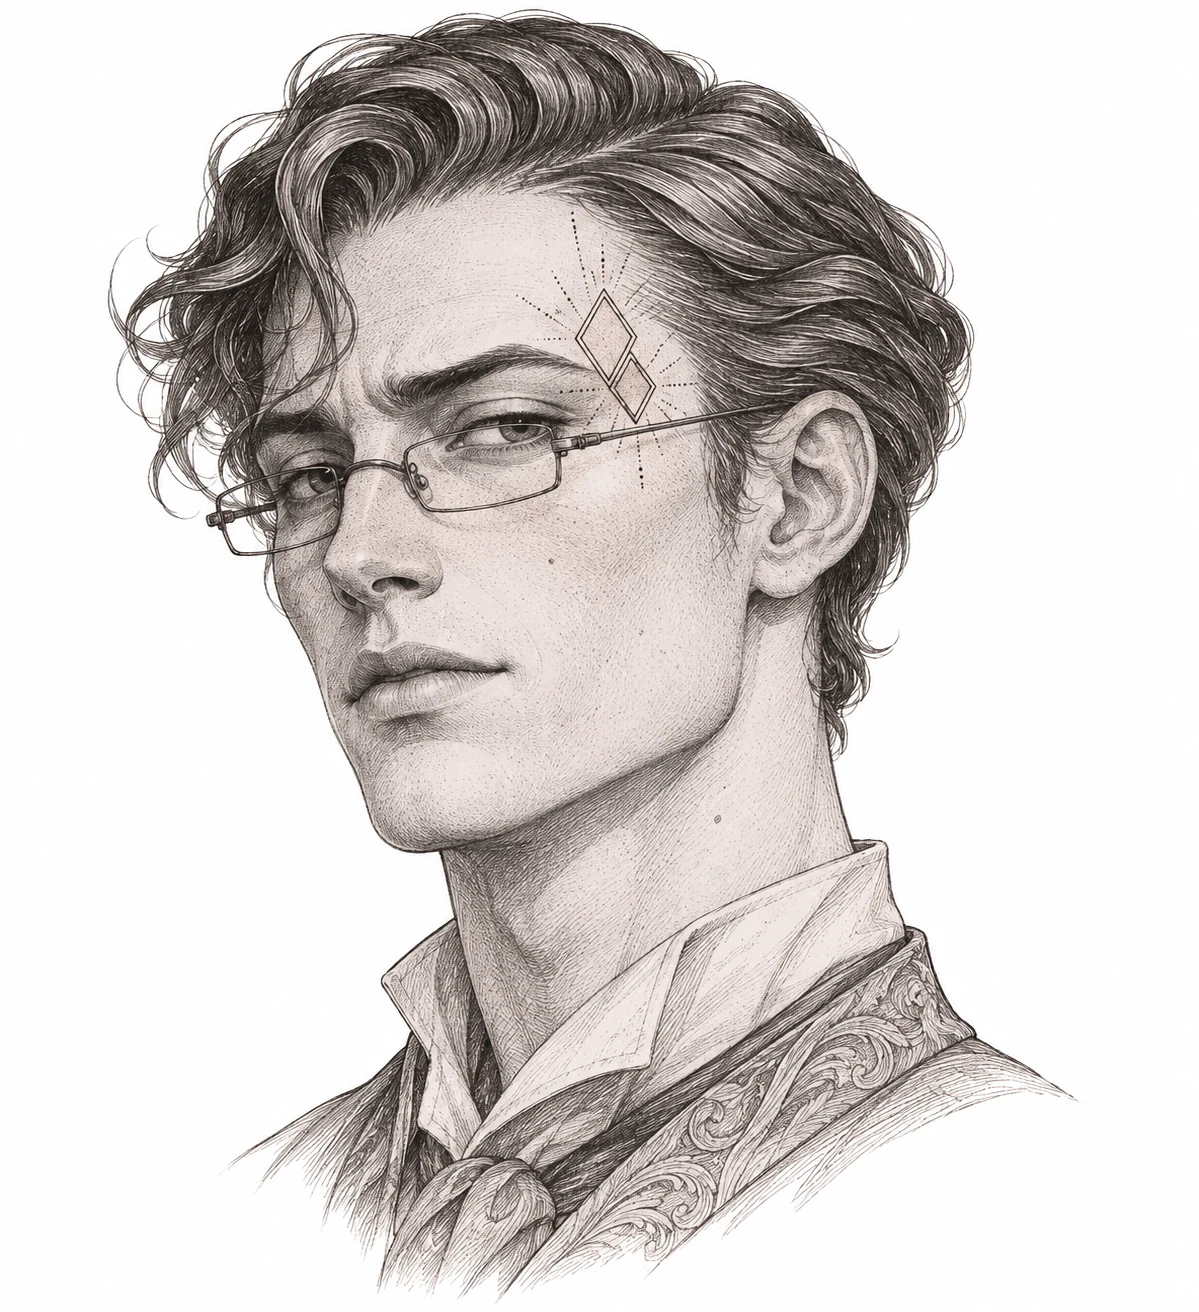
Portrait
Stu Tattoo
A fine-line temple placement study inspired by Stu Price in The Hangover Part II.
Common questions
Tattoo stencil maker FAQ
Is the tattoo stencil maker free?
Yes. You can upload, adjust, and export PNG or PDF without an account.
Does the tool upload my photo?
Instant mode processes images in your browser. If AI studio is available, it sends your image to Hugging Face only after you consent and choose Create AI stencil. Shared GPU queues and daily quotas apply. Save any result before closing the page.
Which image formats work best?
Use a JPG, PNG, or WebP image up to 20 MB. Start with a sharp photo or a high-contrast scan. Busy backgrounds and deep shadows can produce extra lines.
What if background removal cuts out part of my image?
Choose Adjust subject to mark an area to keep or exclude, then review the selection. For a scan on a plain background, turning off Remove background often preserves more of the original ink.
Should I mirror my stencil?
Check your transfer method and equipment. Text and asymmetric details make it easy to spot a flipped result. Use the final preview and a plain-paper test before using transfer materials.