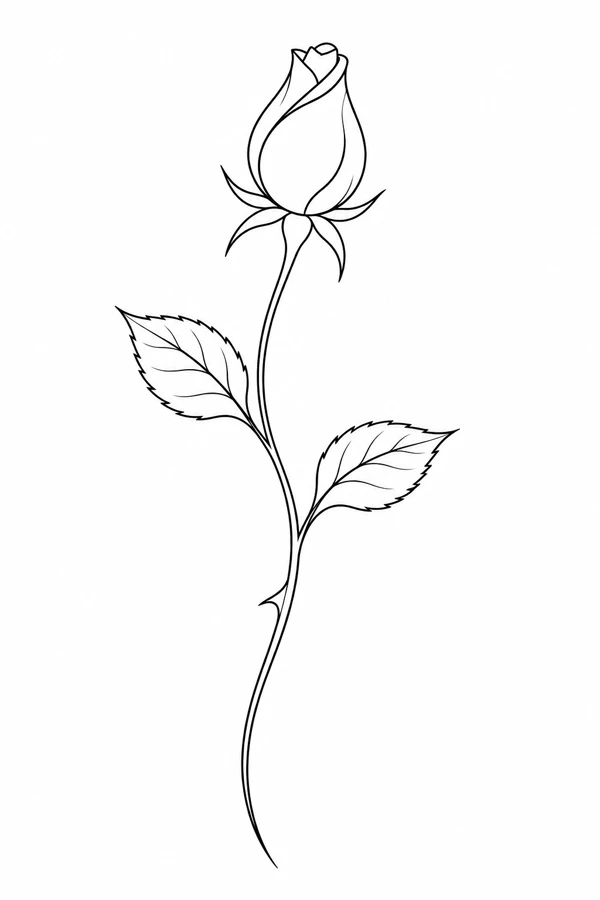
Keep a small rosebud readable as a single shape
A closed bud gives this drawing a clear top and leaves most of the design height to the stem. Compare it with the Rose Sprig for a similar tall silhouette with more branching. The sprig can occupy more of the space beside the stem, while this bud leaves those areas comparatively quiet. Compare both with the same top and bottom marks on your mockup so you can see how far the side leaves reach. If you have a narrow area, this test helps you judge whether the appeal is in the stem curve or in the extra foliage of the alternative.
The smallest successful tracing still needs to show a closed flower, two leaves, and a continuous stem. Begin with those larger shapes, then see how much an inner line adds to the bud or to either leaf. If a leaf becomes a thick widening in the stem, consider shifting the boundary or reducing an interior mark so the junction is visible. Look at the bud from a little distance after each change. A clear single bud at the end of a longer stem will usually communicate more than several tightly packed petal marks around the same small outline.
Compare the shape at the size you plan to use
Mark the full height of the stem and the distance between the outermost leaf tips on a paper strip. Try the strip lengthwise against a forearm mockup. The bud can fit within the central line while a leaf farther down needs extra width. Slide the strip before reducing it. If one leaf is the only shape that sits outside the space, compare a slight rotation that keeps the tip of the bud upright and uses the wider part of the area for the leaves.
A comparison checklist for Rosebud
- Compare the top of the closed bud and the lowest end of the curved stem on the same centerline.
- Keep both leaf outlines apart where they meet the stem. Check the compact joins before adjusting the outline weight.
- Trace the direction of the lower stem on the first proof so you can match it on the next version.
Try a simple negative-space test at the bottom of the bud. Place the two paper versions over the same strip and compare where the bud begins to narrow before looking at the leaves. If the outside shape appears upright in one version but tilted in the other, follow the curve of the lower stem to see whether the direction comes from the flower or the stem. Keeping both copies at the same height makes it easier to separate the closed flower shape from the movement of the stem.
Decide which details belong in the linework
Follow the pointed parts just below the bud, then inspect the narrow pale spaces at the bases of both leaves. The outer curve of the stem should remain continuous through those junctions. On a simplified tracing, leave out a short vein next to a leaf base before reducing the shape of the leaf itself. At the bud, keep the closing seam that separates the front petal from the one behind it. That seam gives the flower its closed shape with few interior marks.
Follow the line from the tip of the flower or leaf to the end of the stem. Where petals overlap, decide which edge describes the front petal. If both edges merge in the proof, keep the stronger boundary and try a simpler version of the smaller fold. Leave the outline in proportion.
Check a plain-paper print at actual size
Print a copy at the chosen height and look where each leaf meets the stem. If one base looks like a single heavy bump, check whether the bump also appears at the larger paper size. If it does, clean the vein nearest that base on an alternate copy. If the junction reads at the larger size, compare it with a slightly shorter version before deciding which detail to remove. Leave the stem’s lower curve visible in both proofs so a different crop does not change the comparison.
On a narrow strip proof, check the upper bud tip and lower end of the stem against the printable bounds before trimming. Those endpoints determine the full height even when the area between them is mostly blank. If a long version needs a second sheet, align the stem across the overlap and verify the angle of the nearby leaf rather than matching only one line. A joint that changes the bend can make a placement comparison misleading even if the bud prints intact. See the actual-size printing guide for calibration and page alignment.
Keep a record of the direction and the chosen draft
When preparing the chosen file, record the bud-to-stem height and the full width across the leaves. Mark the curve at the lower end as the direction reference, because the closed bud can look almost upright in either view. Name the simpler version by the leaf junction or vein you changed. Keep it beside the original and the printed strip so an artist can identify exactly which thin detail was removed before discussing a different size or orientation.
 Tattoo Stencil
 Buy me a coffee