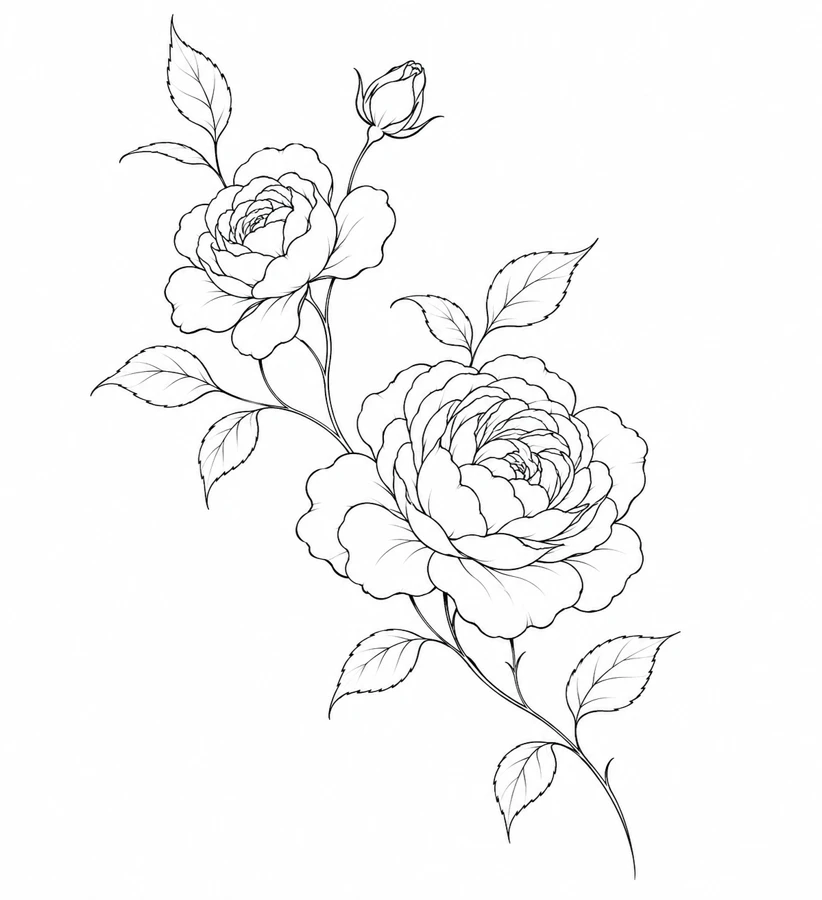
Use the diagonal to place the two rose blooms
The two flowers and the bud make this design read as a sequence along a branch. Compare it with the Rose Arch if you want the blooms to follow a more evenly curved span or the Climbing Rose if you want a stronger upright line. Turn each rough outline over the space marked on paper without stretching it. The diagonal can use a corner that a vertical design would leave empty, but it also uses width and height at the same time. Mark where the largest bloom will land first, then check whether the smaller flower and bud can follow the branch without running outside the area.
The smaller bloom helps establish the relationship between the forms. If you remove it to fit the space, you will change the visual sequence rather than simply reduce detail. Try preserving its silhouette and simplifying its folds before deciding whether the branch should hold fewer flowers. Check which line joins the bud to the stem and which line belongs to a nearby petal. A small unbroken interval between those elements makes the bud read as a separate form and preserves the direction of the branch.
Compare the shape at the size you plan to use
Lay the branch across the paper with the larger rose near the widest part of the measured area. Check the smaller flower and upper bud separately. A diagonal may fit between the top and bottom marks while a leaf still projects across a side boundary. Rotate the same-size tracing and mark where the farthest leaf lands each time. Use that comparison to choose between changing the angle of the branch and reducing the whole group of flowers.
A comparison checklist for Rose Branch
- Measure along the diagonal and check the horizontal and vertical limits of both blooms and the bud.
- Compare the edge of the smaller bloom where it approaches the branch. That junction matters more than an isolated short petal fold.
- Decide which end should hold the larger bloom and mark it on both placement mockups.
On a duplicate proof, place a small piece of tracing paper over just the upper bud and compare the visual weight of the remaining two blooms. Then restore the bud and check whether the branch still reads as one diagonal. If the smaller forms pull attention away from the open rose, try spacing them with a mockup before redrawing the larger bloom. Keeping the branch angle fixed during this comparison makes it clear whether the change is in the spacing or the direction of the whole group.
Decide which details belong in the linework
Compare the open space between the smaller flower and the diagonal stem with the tighter folds in the large rose. Preserve the edge that separates the smaller bloom from the stem, even if it means omitting a short interior petal mark. Where two leaves approach each other, keep their silhouettes distinct before restoring any veins. Use the large bloom to carry the more intricate folds and let the quieter bud and leaves keep the branch easy to follow.
Follow the line from the tip of the flower or leaf to the end of the stem. Where petals overlap, decide which edge describes the front petal. If both edges merge in the proof, keep the stronger boundary and try a simpler version of the smaller fold. Leave the outline in proportion.
Check a plain-paper print at actual size
On a calibrated plain-paper proof, read the sequence from the upper bud through the smaller bloom to the open rose. If the smaller flower disappears into the branch, cover the larger bloom briefly to confirm that the problem is local. Try a proof with the shortest fold removed beside that junction. If that still reads as a knot, compare a slightly larger branch at the same angle and keep both copies labeled so that the angle and size changes can be evaluated separately.
Check the diagonal stem against the PDF preview before committing to a long print. If the layout spans sheets, keep the small bloom and its attachment point on one sheet when possible. At the joint, align the branch and a nearby leaf edge rather than the petal tips alone. Once the copies are joined, confirm that the upper bud has not been clipped and the larger flower still occupies the same place along the diagonal. Recheck the height before comparing it with a shorter draft. See the actual-size printing guide for calibration and page alignment.
Keep a record of the direction and the chosen draft
Write down which end carries the large rose and which carries the bud on the accepted proof. Include the overall width and height since a rotated print can fit a different rectangle while retaining the same design. Save the alternate tracing alongside the original and label any change near the smaller flower by location. That gives the artist a specific junction to review and avoids mixing up a rotated placement trial with a version in which you removed a petal fold.
 Tattoo Stencil
 Buy me a coffee