Motif background
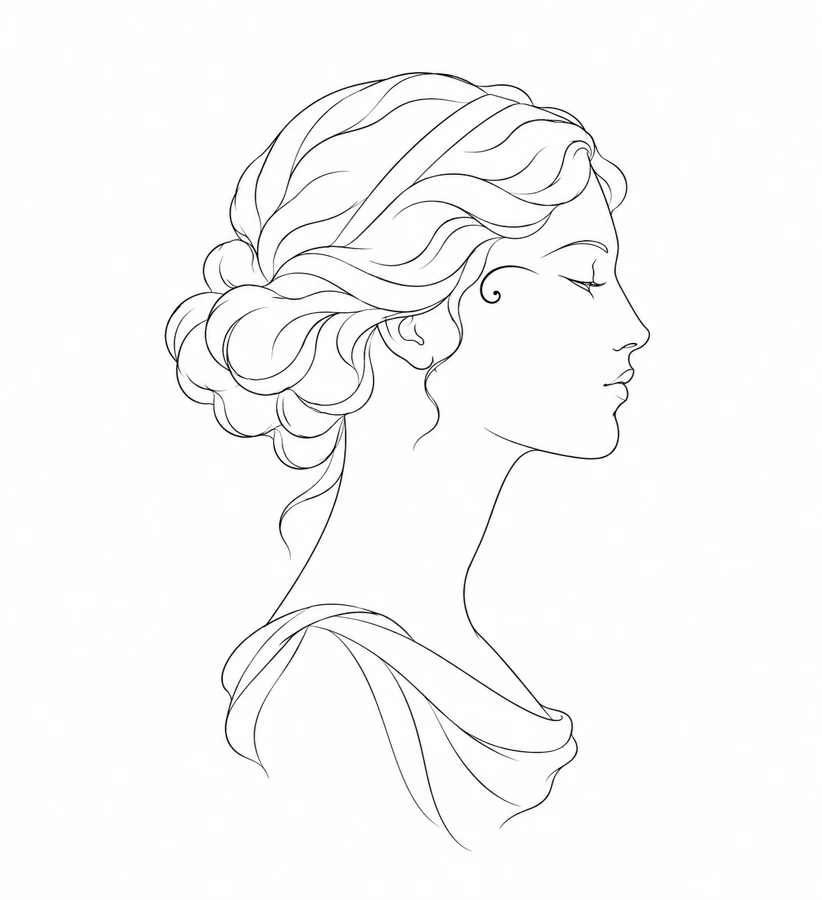
The anonymous face uses a clear outline to suggest the forehead, nose, and chin. The Smithsonian’s National Portrait Gallery documents the longer history of profile likenesses in cut-paper silhouettes. That tradition gives a useful comparison for judging how much information the edge alone carries. The temple ornament in this illustration adds a second, smaller point of attention.
National Portrait Gallery exhibition on silhouette portraiture
Placement to compare
For a separate placement study, compare the whole portrait on a vertical upper-arm mockup with the isolated motif on a face sketch. Keep the ornament’s relationship to the temple visible in both references.
Linework and shading to discuss with your artist
Ask whether the profile needs a firm liner edge while the temple motif and hair use lighter marks. Test how much of the tiny curve remains distinct at the scale you and the artist are discussing.
Needle grouping terminology from Cheyenne
Keep the temple ornament in proportion to the face
This anonymous profile puts the ornament inside a larger drawing of the head and shoulders. The face has a clean line along the forehead, nose, lips, and chin, while the hair is built from overlapping curves. Compare it with the Stu study if you are deciding how much context to keep. The glasses in that study frame a geometric temple motif. Here the open space ahead of the face and the soft curve of the hair do more of that framing.
A full portrait and an isolated temple motif give you two quite different paper studies. For the full portrait, try a vertical frame and leave some room in the direction the nose points. The shape of the shoulders gives the profile a base, so a tight crop around the hair and face will feel lighter. For a study of the ornament by itself, keep an outline copy of the portrait nearby. That makes it possible to discuss the ornament at the size it had in relation to the head.
Compare the shape at the size you plan to use
Trace a thin paper frame around the full silhouette, leaving space in front of the nose and including the far edge of the shoulders. Make a separate outline that stops higher at the neckline. On a vertical upper-arm mockup, move both frames without changing the face size. Look at where the head sits relative to the bottom boundary. Cropping the shoulders changes the visual weight below the chin, so compare that choice before shrinking the whole drawing to fit a shorter space.
A comparison checklist for Ornamental Profile
- Keep the face contour present in the draft so the small ornament still has a clear relationship to the temple.
- Check the negative space next to the accent. Compare it at the same height on each proof.
- Use the nose to label the direction of the profile, then compare where the temple accent falls on the two copies.
Put a sheet of tracing paper over the portrait and follow the forehead, nose, lips, and chin without tracing the interior hair. Use that overlay to judge whether a lighter hair treatment still leaves the face recognizable. Then lower the overlay and check how the ornament sits in relation to the temple. Compare an edit at that boundary with an edit to the lower hair. They can change the focus of the portrait in different ways even if the outer profile remains intact.
Decide which details belong in the linework
Keep the small steps of the forehead, lips, and chin easy to follow, and use a quieter treatment for repeated hair curves. Examine the area above the ear where those curves approach the temple. If an interior stroke draws attention away from the ornament, test removing that stroke on a copy with the face outline intact. Leave enough space to tell where the ornament begins and the hair ends. A heavier profile edge alone cannot repair an unclear boundary inside the head.
Keep a recognizable edge of the face in view while comparing the ornament. The relative position of the two matters more than the amount of detail in either shape on its own. Compare the mark against the same feature on both paper sizes so that you can separate a change in placement from a change in scale.
Check a plain-paper print at actual size
On the paper proof, compare the lip line with one of the fine curves behind the temple. If the lips remain distinct but a hair curve disappears, decide whether that missing curve affects the overall portrait before strengthening it. If both areas fade, verify that the proof was printed at actual size and try the next larger draft. Mark the point of the nose on each copy so a size comparison does not accidentally become a comparison of two reversed profiles.
Keep clear space ahead of the nose and below the shoulders when testing the printable area. If the portrait needs two sheets, use a join outside the facial profile if the layout permits. When a join runs through the hair, line up a long outer curve before matching the shorter interior lines. Check the temple ornament against the one-piece PDF afterward so a staggered overlap does not make its curve seem separate from the head. Measure the assembled height at the end. See the actual-size printing guide for calibration and page alignment.
Keep a record of the direction and the chosen draft
Label the finished proof with the direction the nose points and note whether the version includes the full shoulders. If you lightened a hair line near the temple, mark that change on a comparison copy and leave the original unmarked. Share the whole portrait with any closer view of the ornament. That pairing lets someone compare the shape of the accent against the face instead of treating a small curved mark as the complete design. Keep mirrored trials separately named.
 Tattoo Stencil
 Buy me a coffee